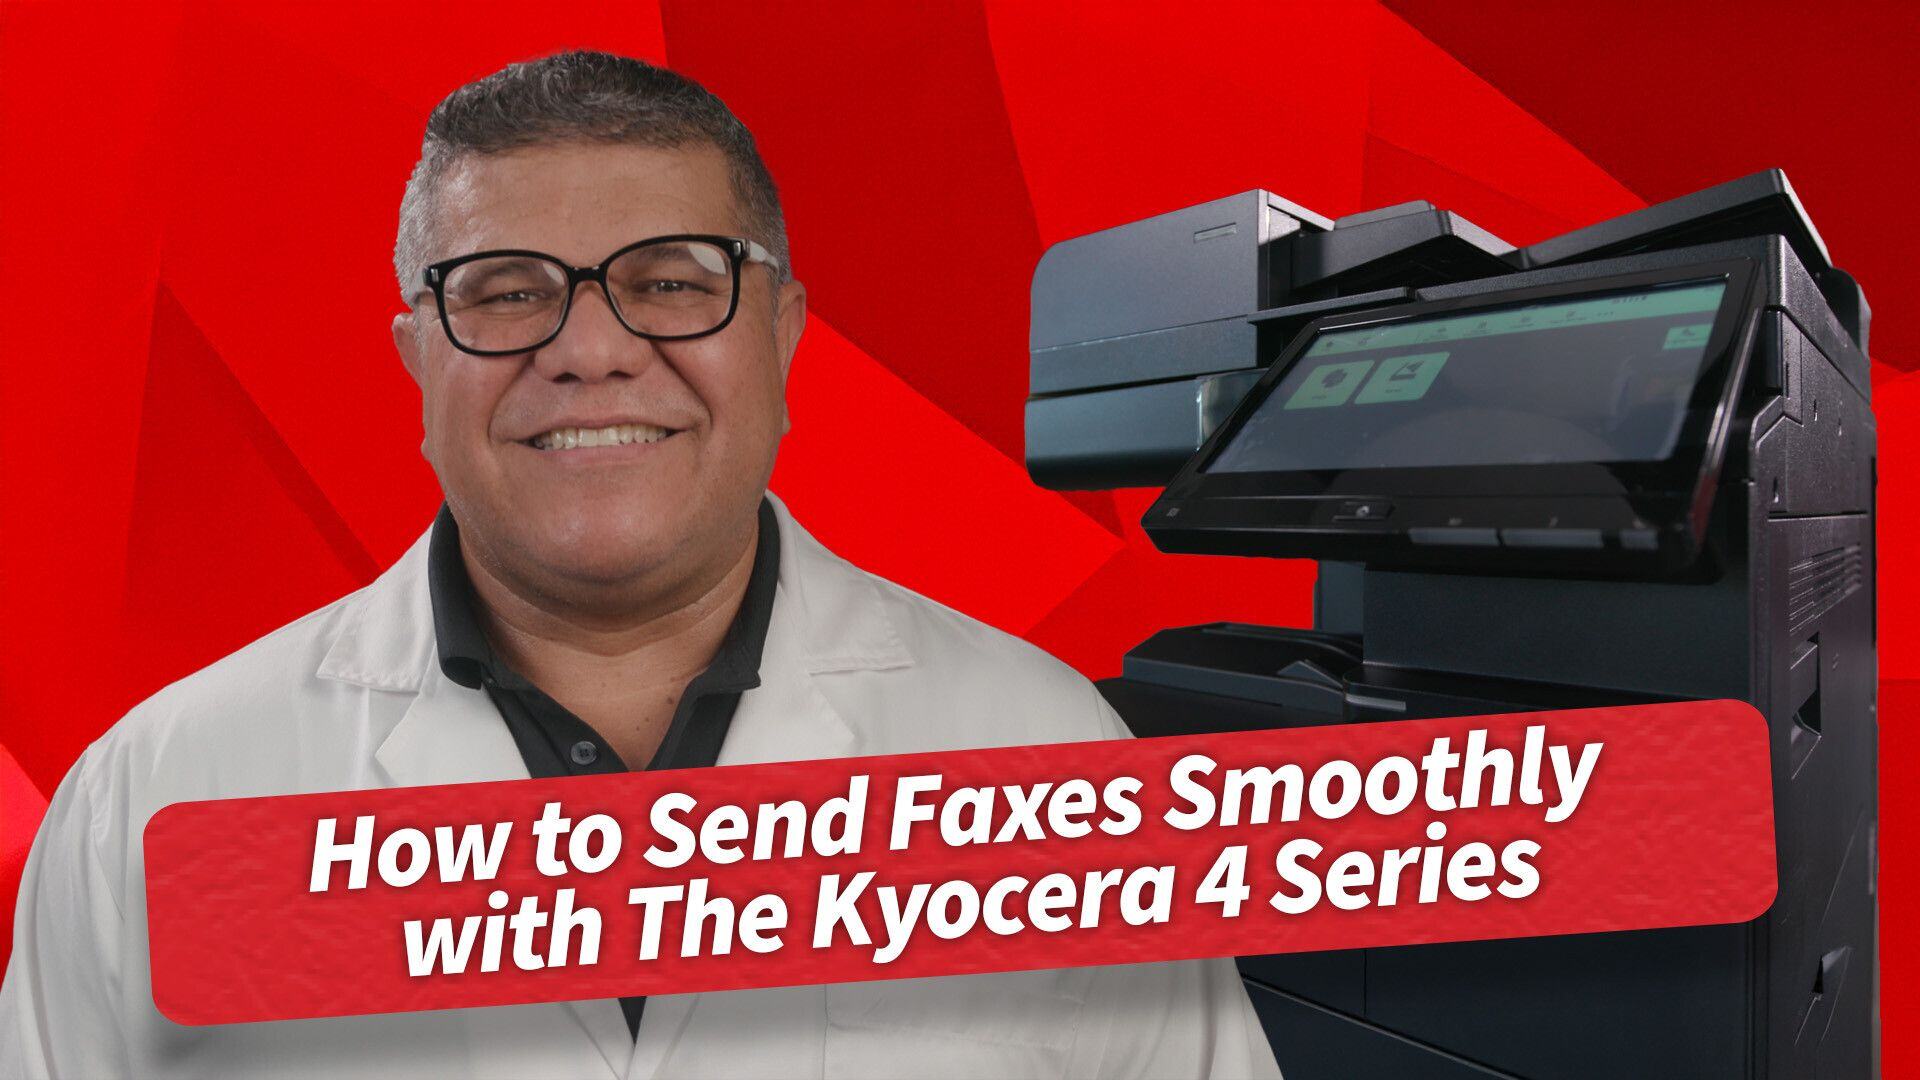
How to Send Faxes Smoothly with The Kyocera 4 Series
November 18th, 2024 | 3 min. read

Struggling to send a fax on your Kyocera 4 Series? No worries! Learn the simple, step-by-step guide to faxing like a pro. From connecting your fax system to preparing documents and entering fax numbers, we’ve got you covered. You’ll even discover tips for avoiding common mistakes—because no one wants a fax fail!
In an era dominated by emails and instant messaging, you might think faxing is a thing of the past. But when it comes to securely sharing important documents—especially in business—faxes still play a vital role. If you’re staring at your Kyocera 4 Series wondering how to send a fax without breaking a sweat, you’re in the right place. Here’s an easy-to-follow guide to get you faxing like a pro.
Step 1: Setting Up Your Kyocera 4 Series
Before you dive into faxing, let’s ensure your Kyocera 4 Series is ready for action. Here’s a quick checklist:
- Fax System Installed: Your Kyocera needs to have its fax system set up. Without it, you’ll be stuck before you even start.
- Phone Line Connection: Locate the port labeled “Line” at the back of the machine and plug in the phone line. This is your faxing lifeline—without it, nothing’s going anywhere.
Think of this step as setting up a phone call. If the line isn’t connected, your fax can’t dial out.
Step 2: Preparing Your Document
Got your document ready? Great! Here’s how to get it set for sending:
- Use the Document Feeder: Place your pages face up in the document feeder on top of the machine. Whether it’s one page or a full packet, the Kyocera 4 Series handles it all with ease.
- Alignment Matters: Make sure the pages are aligned neatly—no folds, tears, or crumples. Nobody likes receiving a distorted document that looks like it was rescued from a shredder!
This step ensures your recipient sees a clean, professional copy of your document.
Step 3: Entering the Fax Number
Sending a fax is as easy as making a phone call:
- Dial the Number: Use the keypad to type in the recipient’s fax number. Double-check your entry to avoid sending it to the wrong person. Trust us, an accidental fax mishap can lead to some pretty awkward situations.
- Long-Distance Numbers: If the recipient is out of your area, don’t forget to add the area code first. The Kyocera 4 Series simplifies this process, so no extra steps are needed.
Pro tip: Always keep the recipient’s number handy to save time in the future!
Step 4: Sending the Fax
Now for the moment of truth:
- Press the Green “Start” Button: This kicks off the scanning and sending process. You’ll see a message on the display that says “Sending,” and you might hear the iconic fax tones doing their thing.
- Confirmation Page: Once the fax is sent, the machine prints a confirmation page. This is your proof that the fax went through successfully.
If there’s an issue, the Kyocera 4 Series won’t leave you in the dark. It’ll notify you of the problem so you can make adjustments and resend.
Faxing Like a Pro
That’s it! You’ve just mastered sending a fax with the Kyocera 4 Series. Whether it’s contracts, invoices, or any other essential documents, you now have the tools to tackle your faxing needs with confidence. Plus, with a reliable machine like the Kyocera 4 Series, you can spend less time stressing and more time focusing on what matters.
If you ever hit a snag, AIS is just a call or click away. Visit AIS-Now.com for expert support or to explore other helpful tips for making the most of your office technology.
Happy faxing!
Cliff is a multi-talented individual with a profound passion for creativity and storytelling. As a photographer/videographer, he possesses a keen eye for detail, capturing the essence of moments, and creating high-quality images and videos. As an award-winning editor, his expertise lies in seamlessly weaving vivid stories and narratives that captivate audiences and bring ideas to life. When he isn’t honing his craft, he spends time with his family or watching B-movies.
Topics:

